Spring Corners Anniversary Card
Hi Crafting Friend,
I hope you are having an amazing week. I'm getting ready to spend the weekend volunteering at Game On Expo, a video game convention here in Phoenix. I'm not into video games, but I enjoy meeting people and this is a fun way to do it. I hope you have fun plans for the weekend too!
I have another anniversary calendar card for you today. You can get the mini adhesive calendars from Vippies or Amazon. They are approximately 3" X 2 1/4" Let's get started.
CARD BASE
- Old Olive cardstock - 4 1/4" X 11" scored, folded and burnished on the long side at 5 1/2"
- Old Olive cardstock - 4" X 4 1/4" scored, folded (valley, mountain, valley) and burnished at 1/2," 2," & 3 1/2" on the short side. Apply adhesive to the 1/2" portions and position it so the "valley folds are flush with the bottom of the front & back of the card and even on the sides. This allows it to stand stably for display.
- Basic White cardstock - 4" X 5 1/4" Adhere to the back of the card so you have a place to write your message.
- Garden Green cardstock layer - 4 1/8" X 5 3/8"
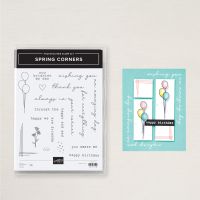
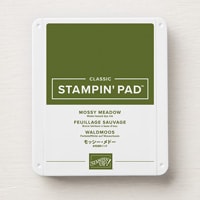
- Using Mossy Meadow ink, stamp the sentiment in the upper right corner and the lines image in the bottom left & right corners.
- Stamp the balloons image in the upper right corner using Tuxedo Black Memento ink.
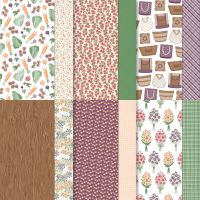
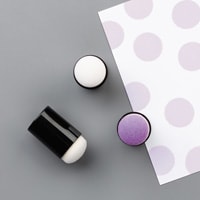
- Stamp the balloons, each on a different DSP print using Tuxedo Black Memento ink, then fussy cut them. Using a sponge dauber, edge the balloons with Tuxedo Black Memento ink.
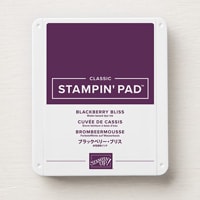
- Randomly stamp the hearts and dots images using Blackberry Bliss ink.
- Adhere the DSP balloons to the layer over the stamped image.
- Adhere the stamped cardstock layer to the card front.
- Add your calendar to the card front.
- If desired, add some embellishments.
All the products used are linked below. CLICK HERE TO SHOP If you purchase less than $150 in products, please use the host code KMB9DTMD. Don't forget to check out the clearance rack and the online exclusives too!
.jpg)






.jpg)
.jpg)
.jpg)
Comments
Post a Comment