1, 2, 3, Scrapbooking pages
Hi Crafting Friend,
In today's post I'll show you how you can make 2 scrapbook pages using 1 sheet of DSP and 3 coordinating colors of cardstock. Did you see what I did there? . . . 1, 2, 3. I can be so clever, LOL, just kidding.
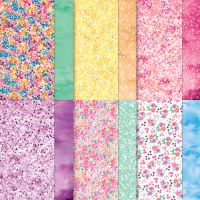
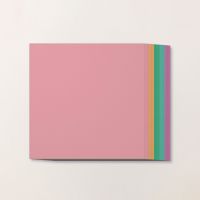
The DSP used is Bloom Impressions from Sale-A-Bration along with Azure Afternoon, Coastal Cabana and Shy Shamrock cardstock, but use what you have. It's easier if your DSP isn't directional. If it is directional, you'll need two 12 X 12 sheets to make sure the design points in the proper direction. I'd love to see your pages, please post a pic in the comments when you complete them!
There is a product list with links below. The host code is KMB9DTMD, please use it if you are ordering less than $150 in product.
Thanks for stopping by MissQsCraftingContinuum, Live Long & Craft On! - Susan 🌄🖖
- 12" X 12" Shy Shamrock cardstock - 2 sheets (one of the 2024-2026 In-Colors)
- 12" X 12" DSP - 1 sheet cut at 7"
- Azure Afternoon cardstock - 4 1/4" X 6 1/4" (4)
- Coastal Cabana cardstock - 3 3/4" X 5 3/4" (3)
- Azure Afternoon cardstock - 4 1/4" X 3 1/2" (1)
- Azure Afternoon cardstock - 1 3/4" squares (2) and 3/4" X 12" strips (2)
- Coastal Cabana cardstock - 1 1/2" squares (2) and 1/2" X 12" strips (2)
- I only had 8 1/2" X 11" in Azure Afternoon and Coastal Cabana so I improvised and pieced together the strips on the left page by cutting a 1" section off the strips for the right page because it was partially covered by two photo mats and won't show.
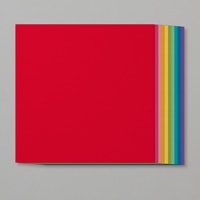
- Both of these colors are included in the Brights 12" X 12" cardstock pack in the product list below.
- The 7" X 12" piece OF dsp goes vertically on the right side of the right page.
- The 5: X 12" piece goes horizontally across the bottom of the left page.
- The strips of cardstock are layered and adhered together. (If you are improvising like I did, make sure you do that before you adhere everything.)
- Layer and adhere together one of each of the photo mats. This goes on the lower left of the left page as shown in the photo above.
- Layer and adhere together the 2 sets of squares. (you can stamp on them first or add charms etc. to embellish them if desired.)
- The journaling box goes on the bottom right of the left page next to the layered photo mat.
- Arrange the strips flush against the DSP on both pages.
- Arrange the photo mats, and the squares as shown in the photo above.
- Once you have everything where you want it, adhere the pieces to the pages.
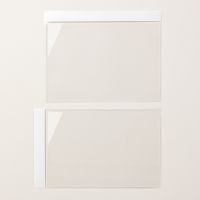
- Add pictures and Flip Flaps for even more pictures.



.jpg)
.jpg)
.jpg)
Fun! Love the color combos, great spreads!
ReplyDeleteThank you, Charlotte. I appreciate you taking the time to leave me some feedback.
Delete