Bloom Impressions Spring Quilt For You Card
Hi Crafting Friends,
Here we are in 2025. The weather has been cold, but not too cold, which I greatly appreciate. I woke up to hazy skies this morning and my mind went immediately to the fires over in California. My heart goes out to all those that have had to flee and leave their belongings behind to be consumed by the raging flames. If you or anyone you know are near those areas, I hope you are all safe!
How about a little bit of distraction? I have been seeing a lot of "quilt" cards lately, so I made one too.
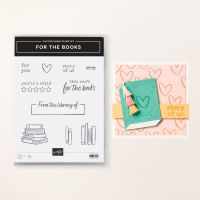
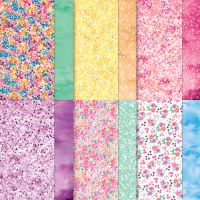
We'll get to the card in a minute. First, I need to tell you that the new Mini Catalog, the Sale-A-Bration Brochure and the new Scrapbooking Brochure are all out. The stamp set, DSP and embossing folder used to make this card can all be found in the Mini Catalog or the SAB Brochure. Everything in the SAB Brochure is available free with either a $60 or $120 order. (before tax and shipping) There are a lot of great products in all of them! If you don't have them yet, click the pictures below to browse thru them.
OK, back to the card. The card base is Thick Basic White cut to 8 1/2" X 5 1/2" and scored, folded and burnished at 4 1/4" on the long side.
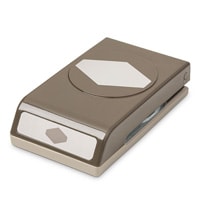
The DSP banner is 2" X 5 1/4" I used the retired tailored tag punch to cut the notch out of the bottom, but it is easy to do with Paper Snips too. Mark the center of the bottom edge, measure up from there about 1/2" and make a dot. Snip on an angle from each bottom corner up to the center dot and PRESTO! you have a banner. Adhere your banner, centered on the card front and even with the top edge, using Multipurpose Liquid Glue or another adhesive of your choice.
To make the "quilt block" start with a 3" square of Basic White. Draw a pencil line from corner to corner to form an X in the center of the square.
Cut 1/2" strips, one each from four different patterns of DSP. (you could use fewer strips if you like the pattern on both sides) Lay two of the pieces across the square on each side of one of the lines. Adhere one end of each to hold it in place.
Lift one strip and slide the third strip underneath it until it is against one side of the other pencil line. Adhere one end to hold it in place.
Lift the other strip and slide the fourth strip underneath it until it is against the other side of the pencil line and against the third strip. Adhere the pieces down to the square and trim off the excess at the corners.
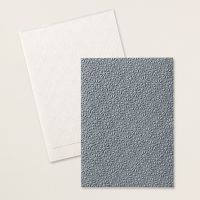
Cut four 3/4" squares and adhere one to each corner to form the "star" on the "quilt block" and emboss the entire piece by running it through the Stampin' Cut & Emboss Machine with the Starstruck embossing folder. (or another one you love)
Adhere the "quilted" block to a 3 1/4" square of Shy Shamrock cardstock, then adhere the entire piece to the card front with Dimensionals or glue, depending on the look you want to achieve. Stamp the greeting in the lower right corner using Tuxedo Black Memento ink, if desired you can add some bling, but otherwise your card is finished.
The supplies used are linked below. (since the punch is discontinued, it will give you an "out with the old, in with the new" message if you click on it)
Thanks for stopping by MissQsCraftingContinuum, Live Long & Craft On! - Susan 🌄🖖
Product List.jpg)







.jpg)
.jpg)
Comments
Post a Comment