Winterly Tree Tops in the Snowflake Sky
Hi Crafting Friend,
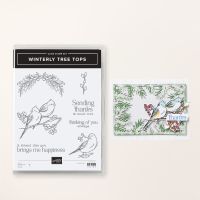
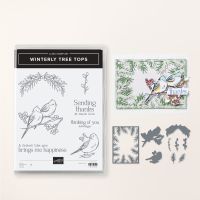
Today's card features the Winterly Tree Tops bundle. The only stamping done was the swag stamped on the envelope flap. (not pictured) The sentiment can be stamped when it is time to use the card.
Here's how to make it: The card base is Night of Navy cut to 8 1/2" X 5 1/2" scored, folded and burnished at 4 1/4" on the long side.
The insert is Basic White cut to 5 1/4" X 4" This is where the sentiment will go when the card is used. If desired, you could stamp something else as decoration too.
The 1st layer on the card front is Boho Blue cardstock cut to 5 1/4" X 3 3/4"
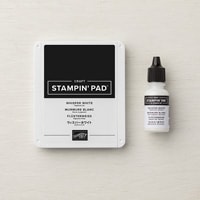
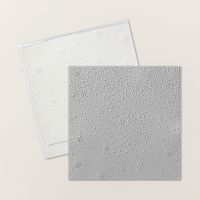
After you have Whisper White ink applied to the ink pad, lightly run the ink pad over the raised side of the Snowflake Sky 3D Embossing Folder, then run it through the Stampin' Cut & Emboss Machine with the cardstock inside it. The ink will be pushed into the debossed snowflakes and make it look like its snowing. Don't forget to rinse your embossing folder afterward.
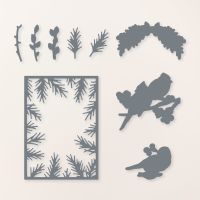
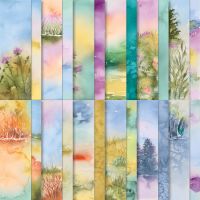
The 2nd layer is a Pretty Peacock wash from the Thoughtful Journey DSP pack. It was die-cut with the frame die, trimmed to 5 1/8" X 3 1/2" and adhered mostly on the outside edge with Multipurpose Liquid Glue so that the parts that overlap the birds could be lifted up on top.
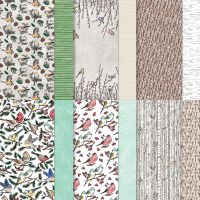
The birds were die-cut from a sheet of Nests of Winter DSP that has the same images as the stamps to save having to color the image. (I was feeling lazy) The birds were adhered with Dimensionals.
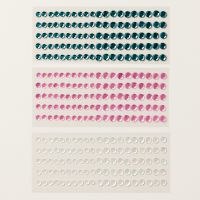
The card is finished of with 3 Pretty Peacock Sequins from the Adhesive Backed Sequin Trio pack.
The products used are linked below the photo of the card. The stamps & dies are linked as a bundle and individually for your convenience.
Thanks for stopping by MissQsCraftingContinuum, Live Long & Craft On! - Susan 🌄🖖
.jpg)




.jpg)
.jpg)
.jpg)
Comments
Post a Comment